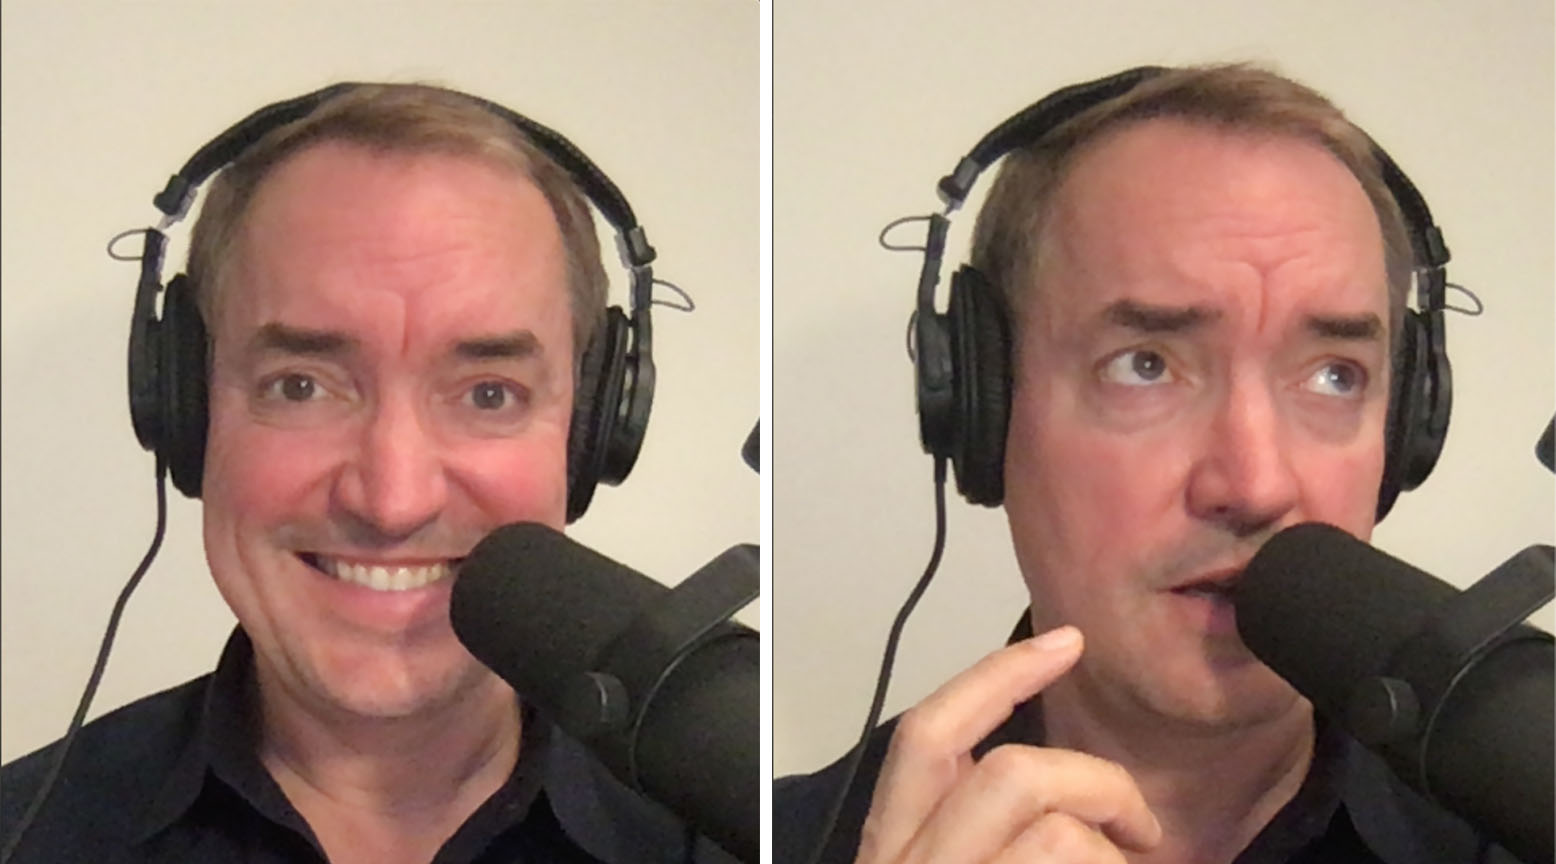
Shortly before shelter in place restrictions, I was on a Hangout with Kelsey Hightower. He pops onto the call with a podcast microphone, those fancy audio headsets, and amazing lighting. The sound quality was professional, over the top. He sounded like a radio DJ. I definitely wanted that!
Afterwards I asked Kelsey about the equipment, which he gladly shared. Apparently he’s an audiophile and enjoyed chatting with a fellow (budding) audio/video engineer. I looked at the price of his setup. Oh, dear lord. Several hundred dollars! Why should I spend that when the Mac was working fine for me??
A few days later I had a meeting with a vice chairwoman of a major bank. She couldn’t hear me, and we were talking about responses to Covid, and tracking the impact to global economies. I sounded like I was underwater, my Mac was whirring away. I was so embarrassed.
Then I realized that the microphone might be the new suit, the new dress, what we “wear” to work. I put the items in my Amazon cart but didn’t pull the trigger. A few more days went by as the items sat in my Amazon cart, taunting me. $800!? Was I crazy?? More video meetings went on, shelter in place was issued. Fine. I pulled the trigger in early March, justifying the expense as a “new work outfit.”
Fast forward to today. Everyone loves how my setup sounds. I can speak plainly, effortlessly and it sounds like a radio DJ. The headphones are super comfortable and stay on all day. They’re the choice of audio professionals everywhere.
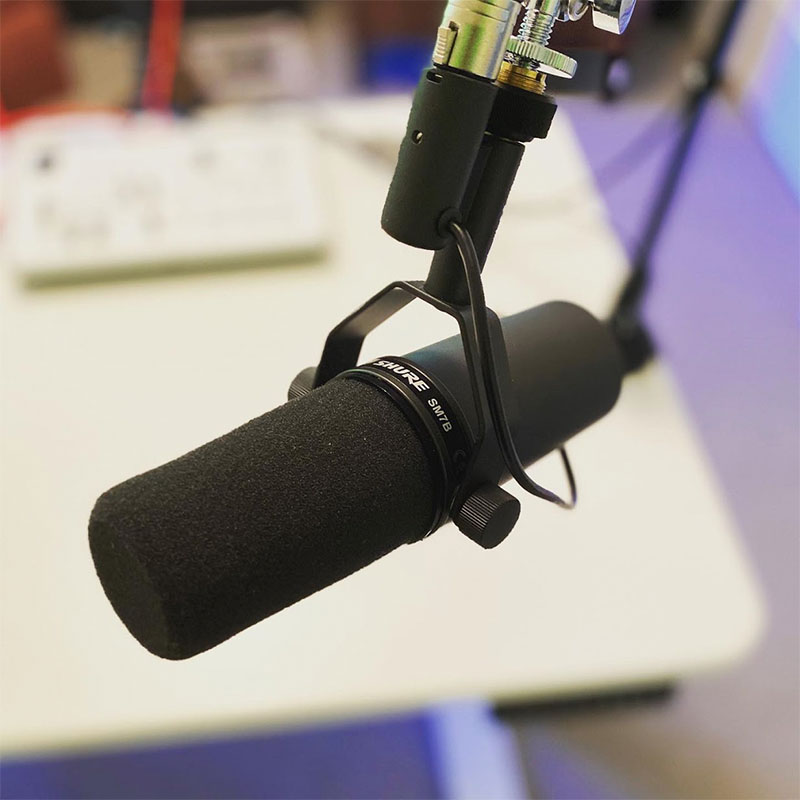
Here’s the shopping list and some basic instructions. First, get yourself the mic of microphones, the Shure SM7B. It’s frequently on sale on Amazon, but also on Sweetwater. The microphone comes with a built-in pop shield, a rough, black foam cover to the microphone to prevent lip smacks and breathing noises.
Buy on Amazon here.
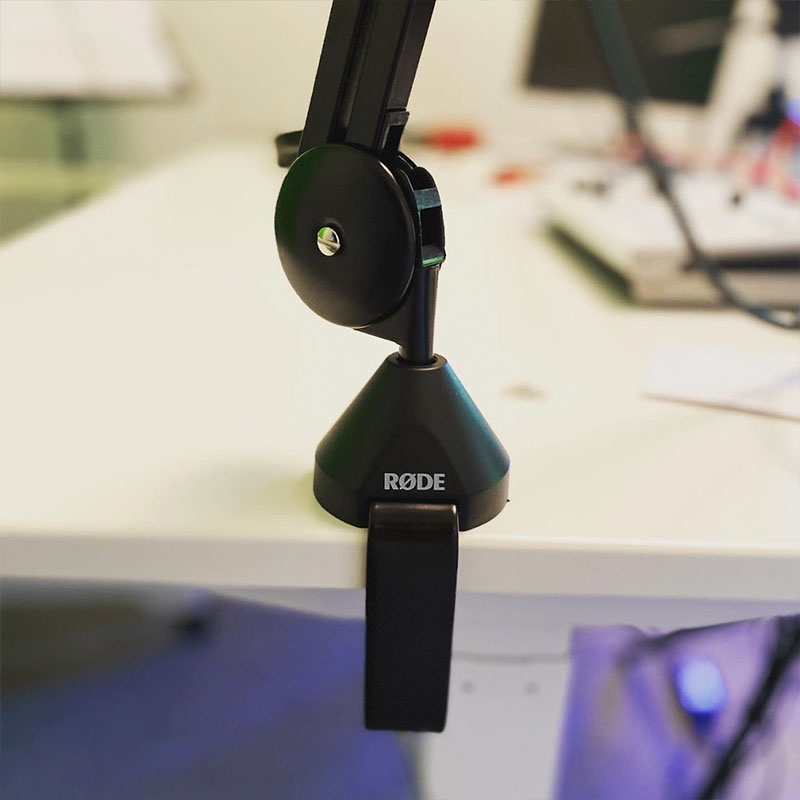
Next, buy the swinging arm stand by Rode. The boom stand has springs in its base that perfectly balance the Shure mic. You can effortlessly move the mic anywhere in 3D and it stays put. Audio experts will tell you to keep the mic close to your mouth for that DJ sound. Mount this stand on the right side of your desk, with the mic booming into the center where you’ll sit or stand.
Buy on SweetWater here.
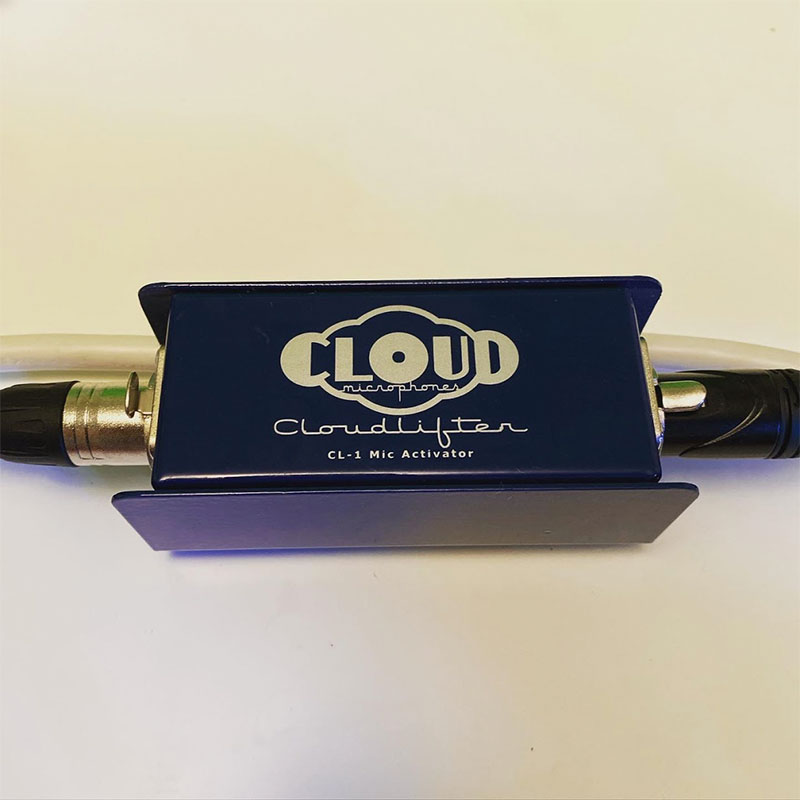
The Shure mic is super sensitive. You’re literally talking into a fine ribbon, inspired by top line speakers and our eardrum. That sensor doesn’t throw off a lot of signal. You will need to increase its level and filter out some high frequency noise. For that, buy the CloudLifter. This device gets its power from the active XLR cable going to the microphone. The device ships with a 6’ XLR cable that’s perfect for the Shure mic and Rode stand.
Buy on Amazon here.
Now you need a short 3’ XLR cable for our next device. I bought these, have a spare now.
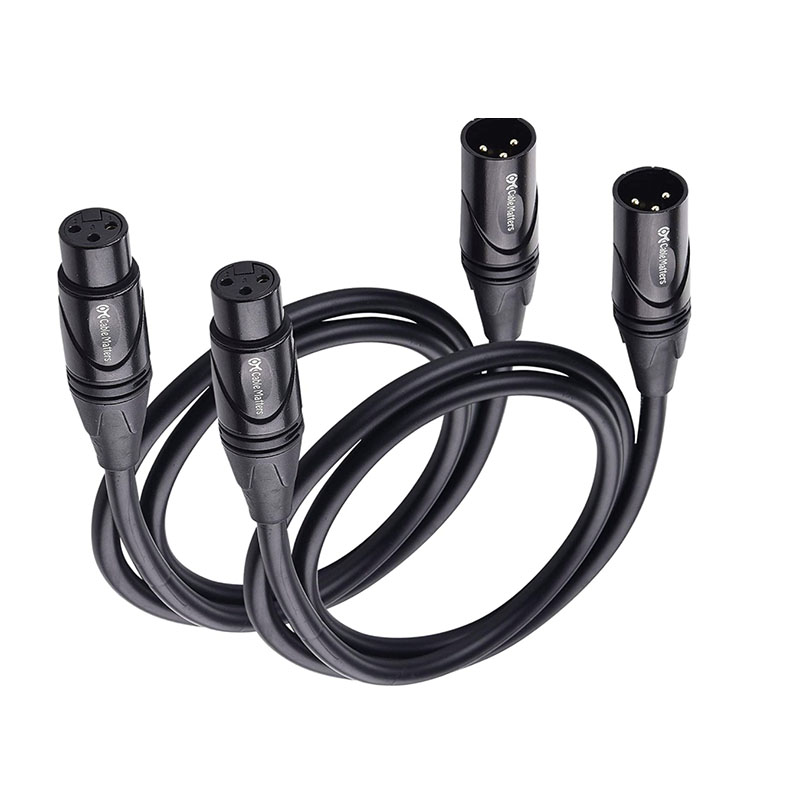
Buy on Amazon here.
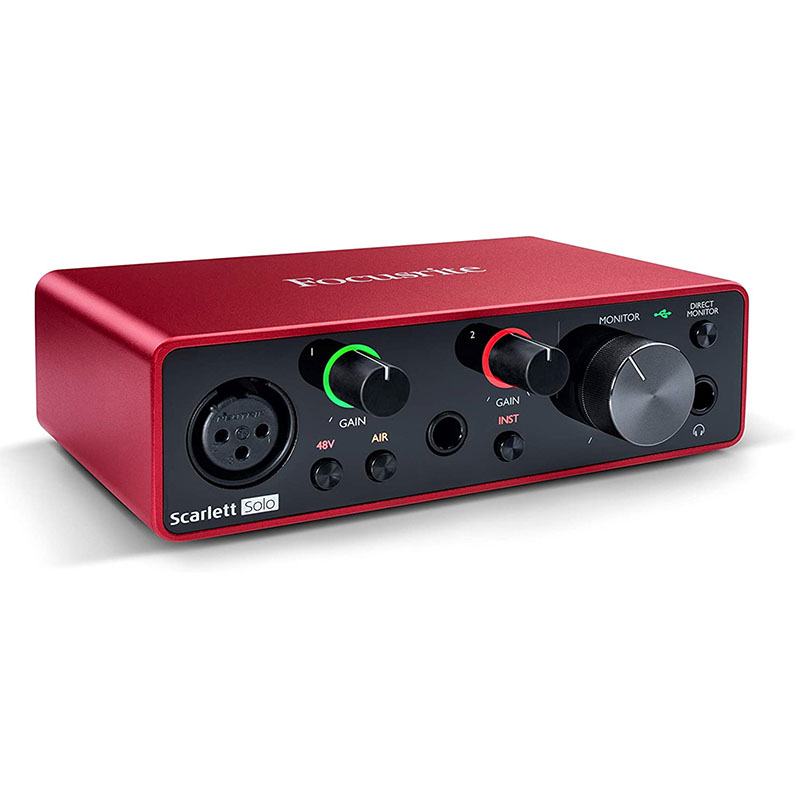
Next, buy the FocusRight Solo “pre-amplifier.” This device blends your microphone with an optional second device – I use my guitar. It also provides an output for your studio headphones. The FocusRight has a USB-C outlet that you can connect to your laptop.
Buy on Amazon here.
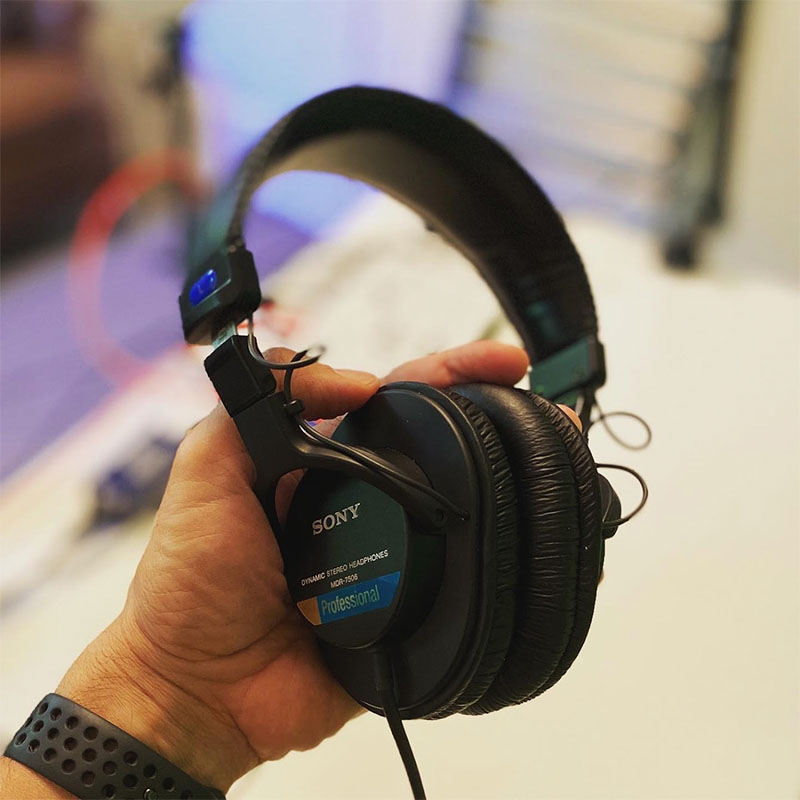
Finally, purchase a set of these headphones. They plug into the FocusRight pre-amp, and are the go-to device for most audio engineers I’ve met. I’ve met a lot from public speaking, too.
Buy on Amazon here.
Finally, get a USB-C to USB-C male to male cable from Apple for you Mac fans. I hear there are similar cables for Chrome and Windows users. To set it up, follow these instructions. First unbox everything.
-
Attach the Rode arm to the right side of your desk. I use the clamp. You can also drill a hole, but I threw that part away.
-
Attach the Shure SM7B microphone to the end of the boom stand.
-
Attach the 6’ XLR female cable that came with the Cloud Lifter to the male XLR port on the SM7B mount.
-
Snake the cable along the top of the Rode arm, using the velcro strips that come in the Rode arm packaging. These keep the cable in place.
-
Attach the 6’ XLR male end into the Cloud Lifter. I position the cloud lifter at the front of my desk, opposite to where I sit.
-
Attach the 3’ XLR female end into the other side of the Cloud Lifter; this is the “output.”
-
Place the FocusRite pre-amplifier along the left edge of your desk, opposite the Rode arm. Now, plug the 3’ XLR male end into the front of the FocusRite device.
-
Plug your Sony headphones into the headphone jack of the FocusRite.
-
Plug the USB-C cable into the back of the FocusRite, then into your Mac/Windows.
-
On your Mac laptop, open System Preferences, click on “Sound.” Select the “Scarlett Solo USB” as both input and output. Click back so that you can see the “input” screen.
-
Start speaking into your mic. Little bars may not show up, indicating the amp is too low, or that its off.
-
Press the “48V” and “Air” buttons below the left volume knob. They should light up. Now your mic is online. Adjust the volume next to the XLR jack so that the knob flashes green whenever you speak, but is off otherwise. You should see sound bars on the System Preferences, too, indicating its the right level.
-
Press the “Direct Monitor” button above the headphone jack on the FocusRite. Now your headphones are online, and you can adjust the volume with the knob next to the headphone jack.
-
Start a Google Meets with a friend and test your new setup! You’re ready to Rock ‘n Roll like the best of em, all dressed up for the new video age.